How to Eliminate Visible Glue Lines & Achieve Zero-Glue-Line Edge Banding
2026-09-19
Visible glue lines on edge banding ruin cabinet appearance and trigger customer complaints. Many woodworking shops struggle with excess glue squeeze-out, uneven glue coating and white glue marks after trimming. Zero-glue-line edge banding is not just about premium edge banding tape — it relies on matched glue type, stable machine calibration, proper material handling and standardized operating procedures. Below are actionable tips to help your workshop achieve clean, invisible glue joints.
Main Causes of Visible Glue Lines
1. Too much glue applied, causing squeeze-out along the top and bottom edges
2. Uneven glue temperature or unstable glue melting viscosity
3. Panel edge not milled flat; curved or chipped substrate leads to inconsistent bonding gap
4. Edge banding tape tension is too high / too low, poor pressure roller contact
5. Contaminated glue pot, old degraded glue mixed with dust and wood chips
6. Ambient temperature too low, glue cools rapidly before full bonding
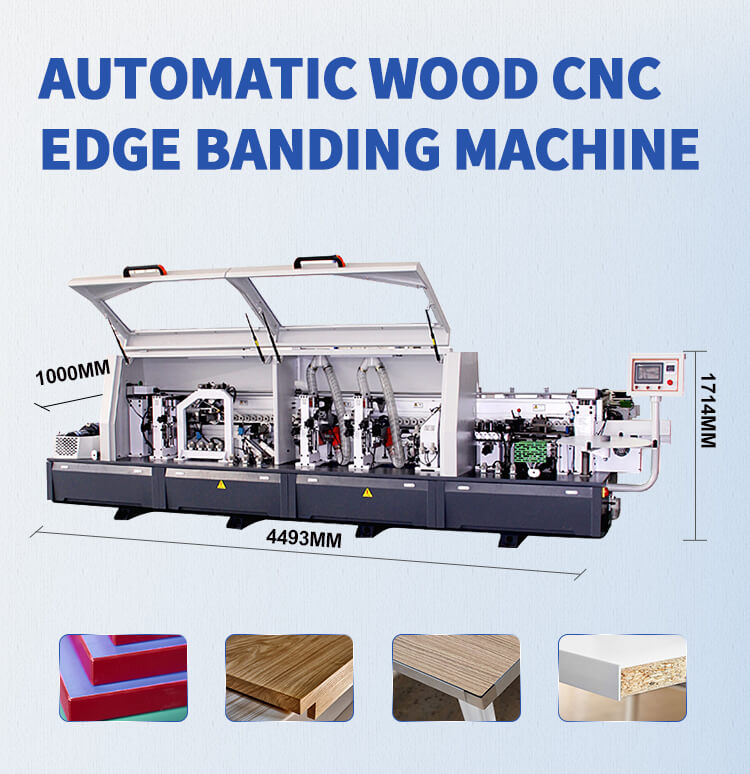
Core Solutions for Zero-Glue-Line Edge Banding
1. Glue & Temperature Control
- PUR hot melt glue is the top choice for zero-glue-line effect compared with EVA glue. PUR has thinner coating thickness, low squeeze-out and excellent moisture resistance.
- Strictly follow manufacturer temperature settings. Keep stable heating; overheating burns glue and changes viscosity, while low heat results in poor flow and weak bonding.
- Clean glue tank regularly. Remove carbonized glue residue and wood dust to avoid impurities creating uneven glue layers.
2. Pre-Process Panel Edge Preparation
- Pre-mill panel edges to get straight, clean and burr-free surfaces. Uneven edges are the most common root cause of inconsistent glue gaps.
- Keep panel moisture content stable. Wet or severely dry MDF/plywood will expand or shrink after edge banding and form gaps.
- Wipe wood dust and oil stains off panel edges before feeding. Dust stops glue from attaching evenly.
3. Edge Banding Machine Parameter Tuning
- Adjust glue applicator wheel: control glue film to a thin, uniform layer, avoid excessive glue transfer.
- Optimize pressure roller pressure: enough pressure to fully press tape onto panel, but not overpress to squeeze glue out.
- Match feed speed with glue curing speed. Too fast leads to weak bonding; too slow accumulates extra glue.
4. Post-Trimming & Finishing Tips
- Set trimmer blades sharp and aligned. Dull blades scratch tape and drag residual glue.
- Fine-scrape and buff after trimming to clear tiny leftover glue smudges.
- Avoid rapid temperature change after edge banding, let panels cool naturally before stacking.
Quick Selection Guide
Use PUR glue + pre-milling function for high-end cabinet orders requiring zero-glue-line finish.
EVA glue works for standard economy orders, but zero-glue-line results are harder to maintain.
Small workshops without PUR machines can still reduce glue lines drastically by pre-milling edges and stabilizing glue temperature.
Conclusion
Zero-glue-line edge banding is a combined result of substrate quality, glue formula, machine calibration and operator habits. Upgrading glue alone cannot fully erase glue traces. Regular machine maintenance and standardized pre-processing will consistently deliver seamless edge banding, reduce rework and improve finished cabinet quality.
Please contact Superstar CNC for machine details and a quote.