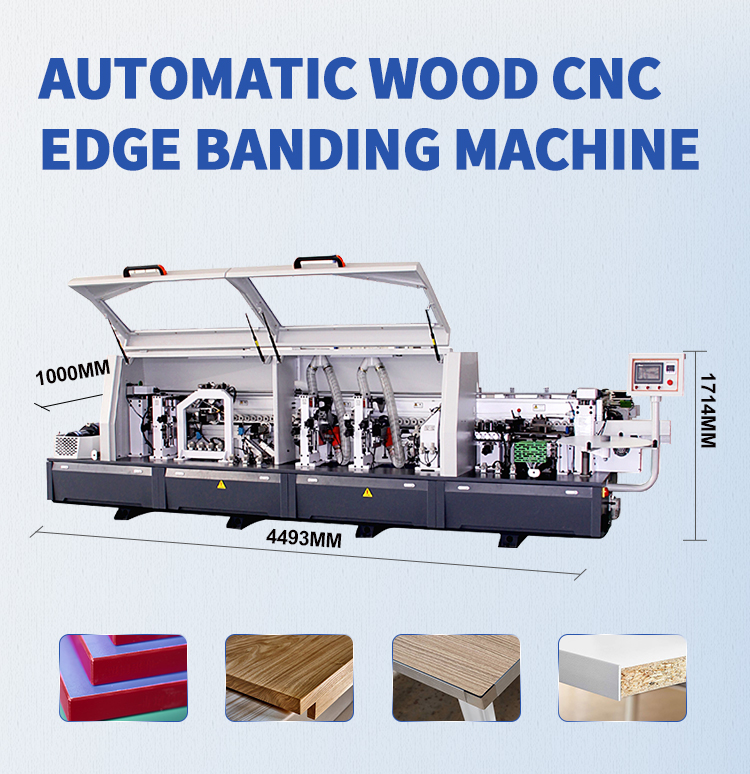
What Should Be Done Before Starting the Edge Banding Machine?
2026-05-15
Doing complete preparation before starting the edge banding machine is essential to avoid mechanical failure, poor edge banding quality and safety accidents. Standard pre-start inspection can extend machine service life, reduce waste of board and edge band, and ensure stable continuous production. Below is the full step-by-step checklist you must follow before running an edge banding machine.
1. Safety and Environment Check
Before any operation, check the working environment and safety protection first.
· Keep the machine surface and surrounding area clean, remove wood chips, dust and sundries.
· Confirm emergency stop button is in normal reset state, not locked.
· Check safety protective covers and guards are installed firmly without damage.
· Ensure the ground is dry and non-slip to avoid operator slipping risk.
2. Circuit and Power Inspection
Stable power supply is the premise of normal operation of the edge banding machine.
· Check the power wiring is intact, no aging, exposed wire or loose connection.
· Turn on the main power switch and confirm the control panel displays normally without error codes.
· Check all control buttons, touch screen and indicator lights respond sensitively.
· Ensure voltage matches the machine rated parameter to avoid motor burnout.
3. Air Pressure and Pneumatic System Check
Most automatic edge banding machines rely on pneumatic components to work.
· Turn on the air compressor and check the air pressure value reaches the standard working range.
· Inspect air pipe and connector for air leakage.
· Drain water from the air filter and oiler, add lubricating oil if insufficient.
· Confirm pneumatic cylinders and solenoid valves work flexibly without stuck failure.
4. Mechanical Parts Lubrication and Inspection
Regular inspection and lubrication reduce mechanical wear.
· Check linear guide, chain, gear and transmission parts for wear and abnormal noise.
· Add lubricating oil to required lubrication points according to the manual.
· Check conveyor belt, feeding roller and pressing roller for deviation, wear or damage.
· Fasten all loose screws, bolts and fixing parts on the machine body.
5. Glue System and Temperature Preheating
Glue melting and temperature control directly affect edge bonding effect.
· Clean the glue tank, remove residual old glue and impurities.
· Add qualified hot melt glue suitable for edge banding material.
· Turn on the heating system, preheat the glue pot to the standard temperature.
· Wait for the glue to melt fully, check glue fluidity to avoid insufficient melting or overheating.
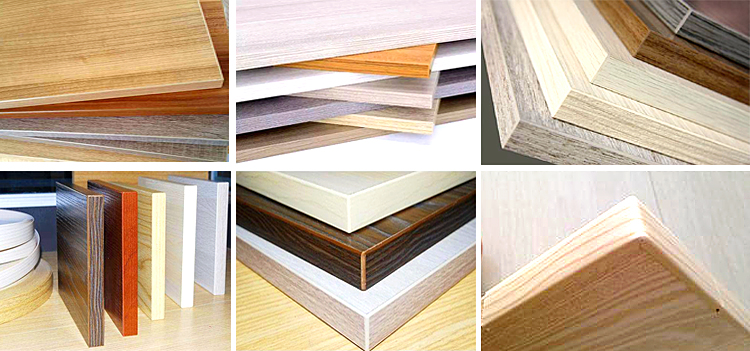
6. Edge Banding Material and Board Preparation
Prepare raw materials to match machine parameters in advance.
· Select qualified edge banding tape with matched width and thickness.
· Place the edge band roll correctly on the material rack, keep it smooth without bending.
· Inspect the processing boards for flatness, no obvious deformation or burrs.
· Set board thickness and processing size parameters on the control panel in advance.
7. No-load Trial Run Test
Do not process formal boards directly after preparation; perform no-load test first.
· Start the machine for idle operation for 3–5 minutes.
· Check each working station: feeding, gluing, trimming, scraping and polishing run smoothly.
· Listen for abnormal noise, vibration or jamming during operation.
· Adjust speed, glue amount and trimming position according to trial running status.
Conclusion
Standard pre-start work for the edge banding machine covers environment safety, circuit, pneumatic system, mechanical lubrication, glue temperature control, material preparation and no-load trial run. Strictly following these steps can greatly reduce failure rate, improve edge banding finish quality and guarantee workshop production efficiency. If you need professional operation guidance and maintenance tips for edge banding machines, feel free to contact us for more support.